You have company coming in a few weeks (don’t we all) and your guest bedroom looks like it hasn’t been repainted since you moved in in 1998. No judgement here, we just want to help you paint a room (maybe your guest room looks fabulous, but it’s your bedroom or your guest bath that needs some love. No matter the room, we’ll show you how to paint it in six easy steps and look like you hired a pro to do it.
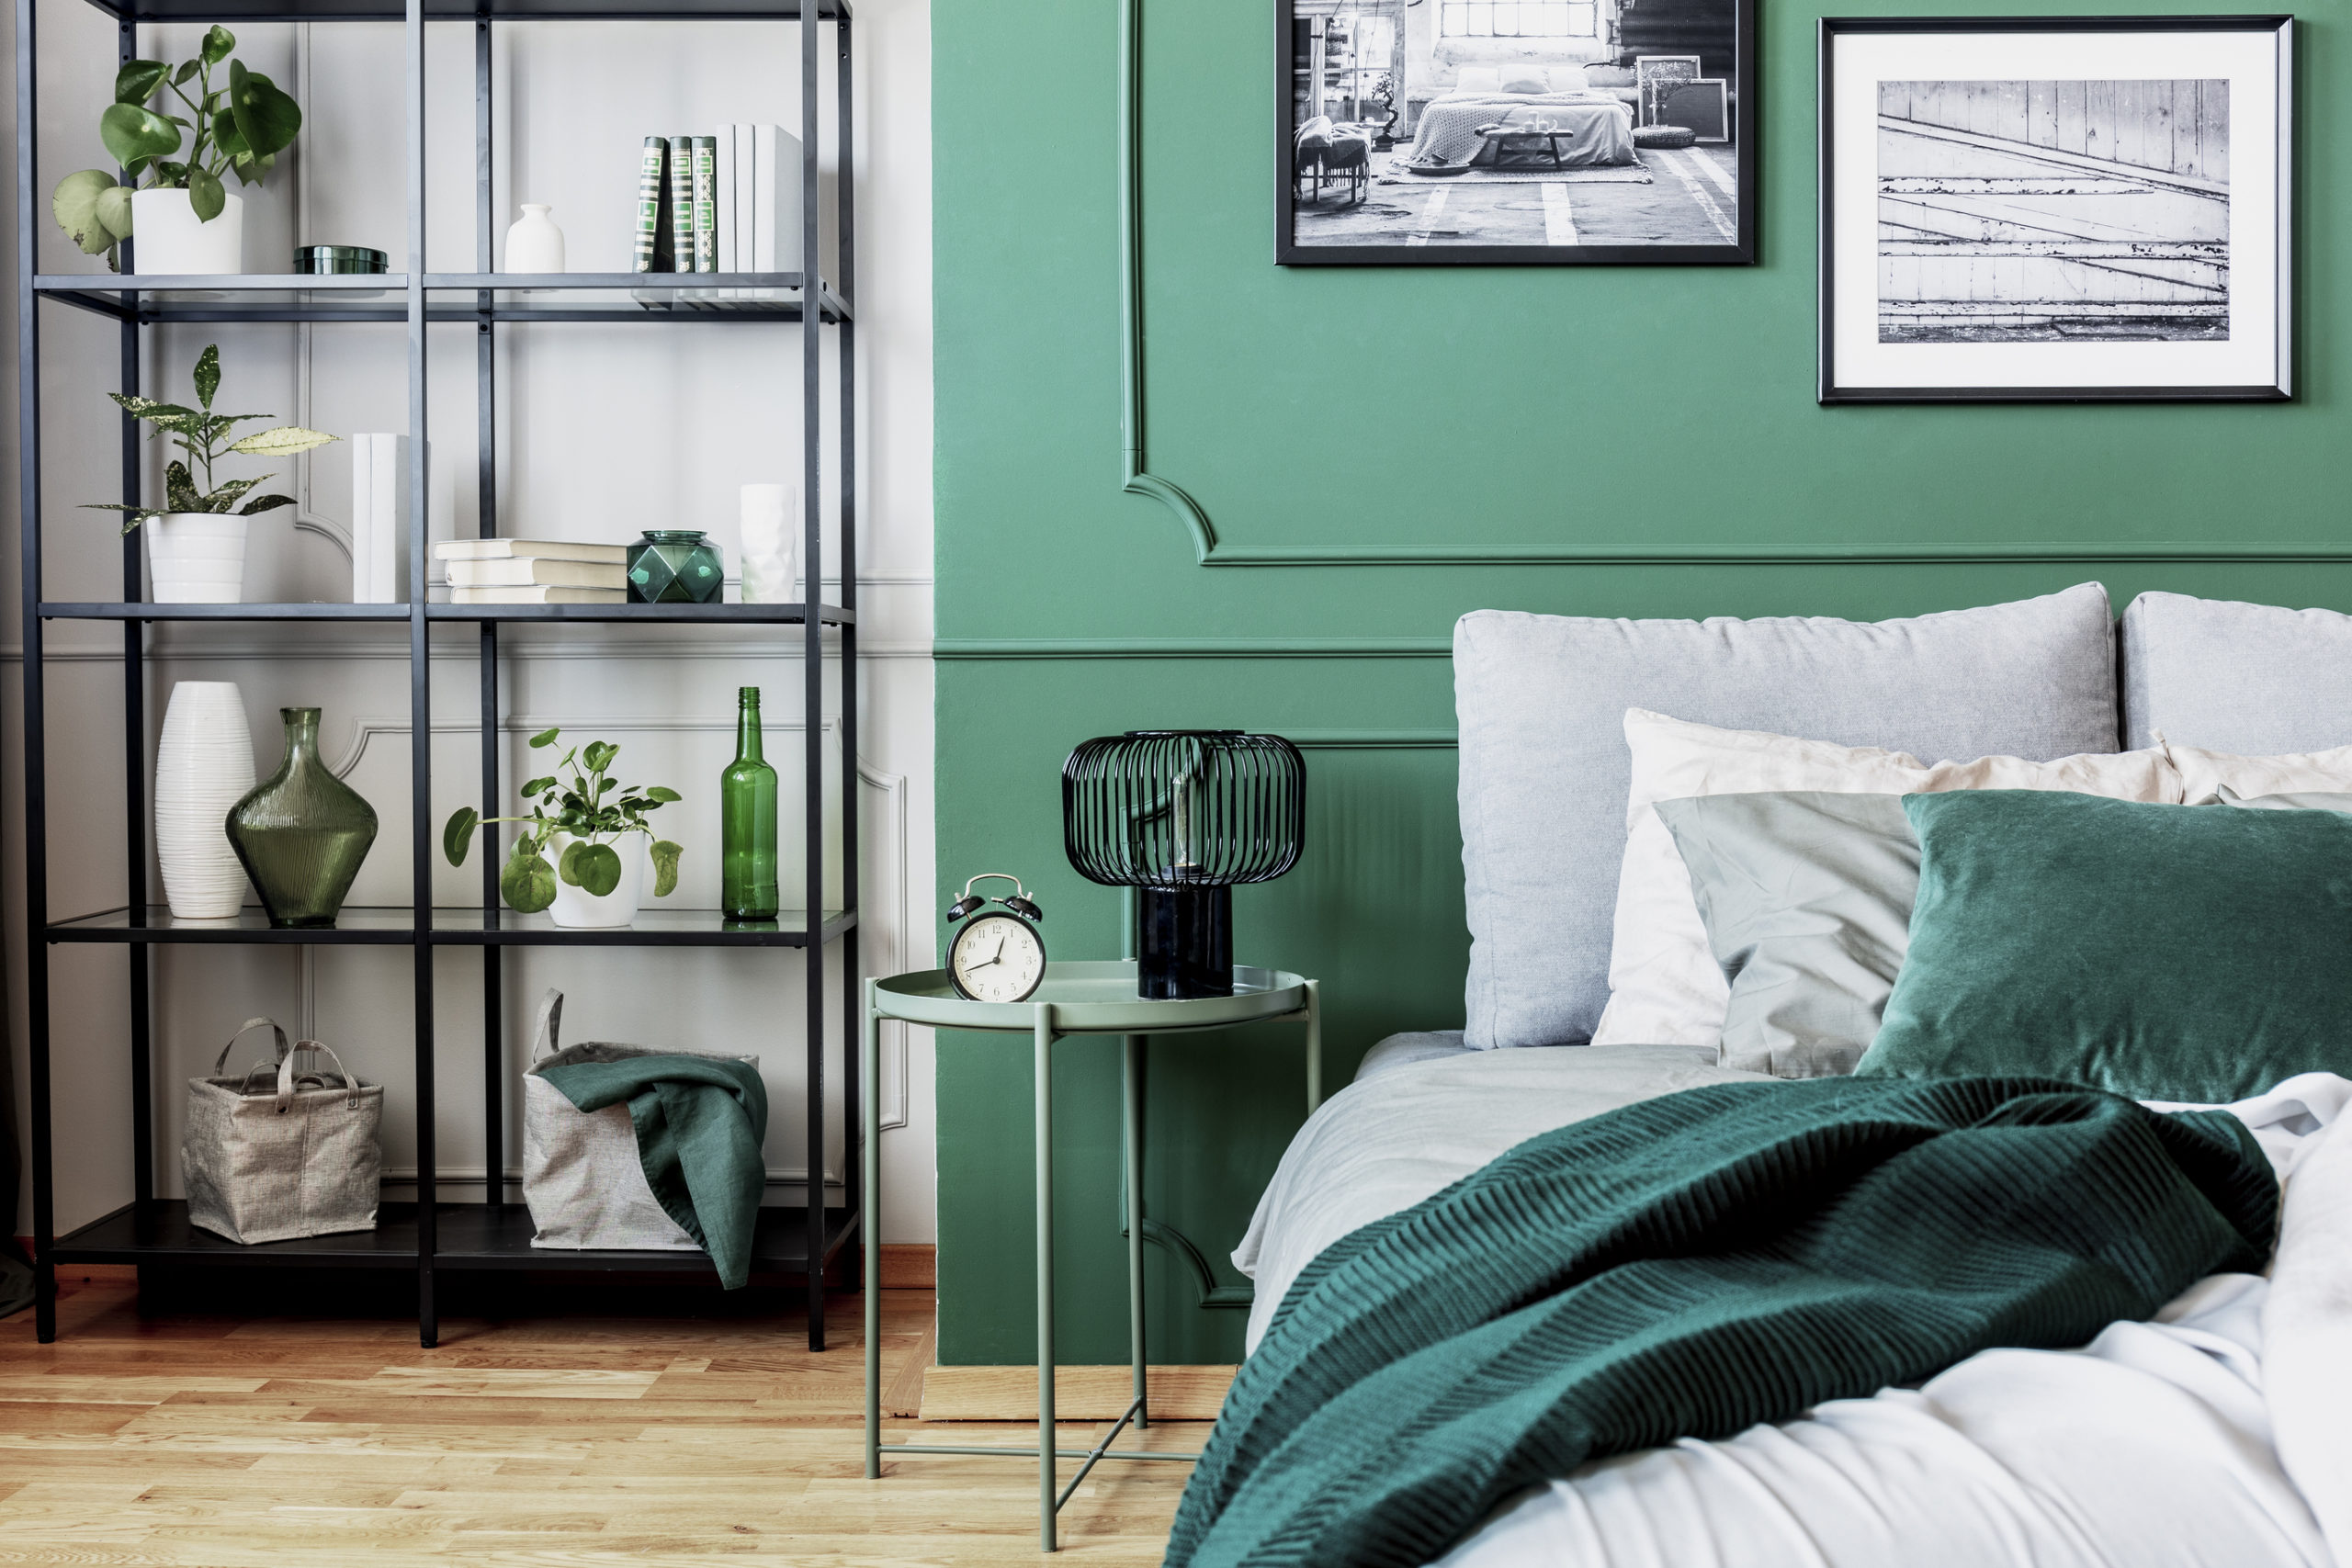
Paint a room: Supplies you’ll need to paint your guest room (or any room for that matter)
- Painter’s tape
- Roller frame and covers
- Paint tray
- Stir sticks
- Brushes
- angled for corners
- 3″ flat for edges
- Drop Cloths
- Spackle and spackle spatula
- Warm soapy water to clean small marks, dirt or grease
- Sandpaper (400 grit) to even out any bumps or uneven marks left from repairs
- Paint
- Flathead screwdriver for getting the lid off the paint can
Optional painting supplies:
- Handy brand magnetic paint pail – the magnet holds your brush for you!
- Extended roller frame – this is great if you’re short or just want to go a little easy on your neck and arms and stay off the ladder.
- Primer. You need to use a primer if:
- Your walls are painted a dark color and you’re going lighter
- Your walls are stained or marked enough that it’s easier to prime than to clean
- This is the first coat of pain you’re painting after removing wallpaper
- You are painting over glossy paint and don’t want to sand it down first
- Plastic wrap for taking breaks
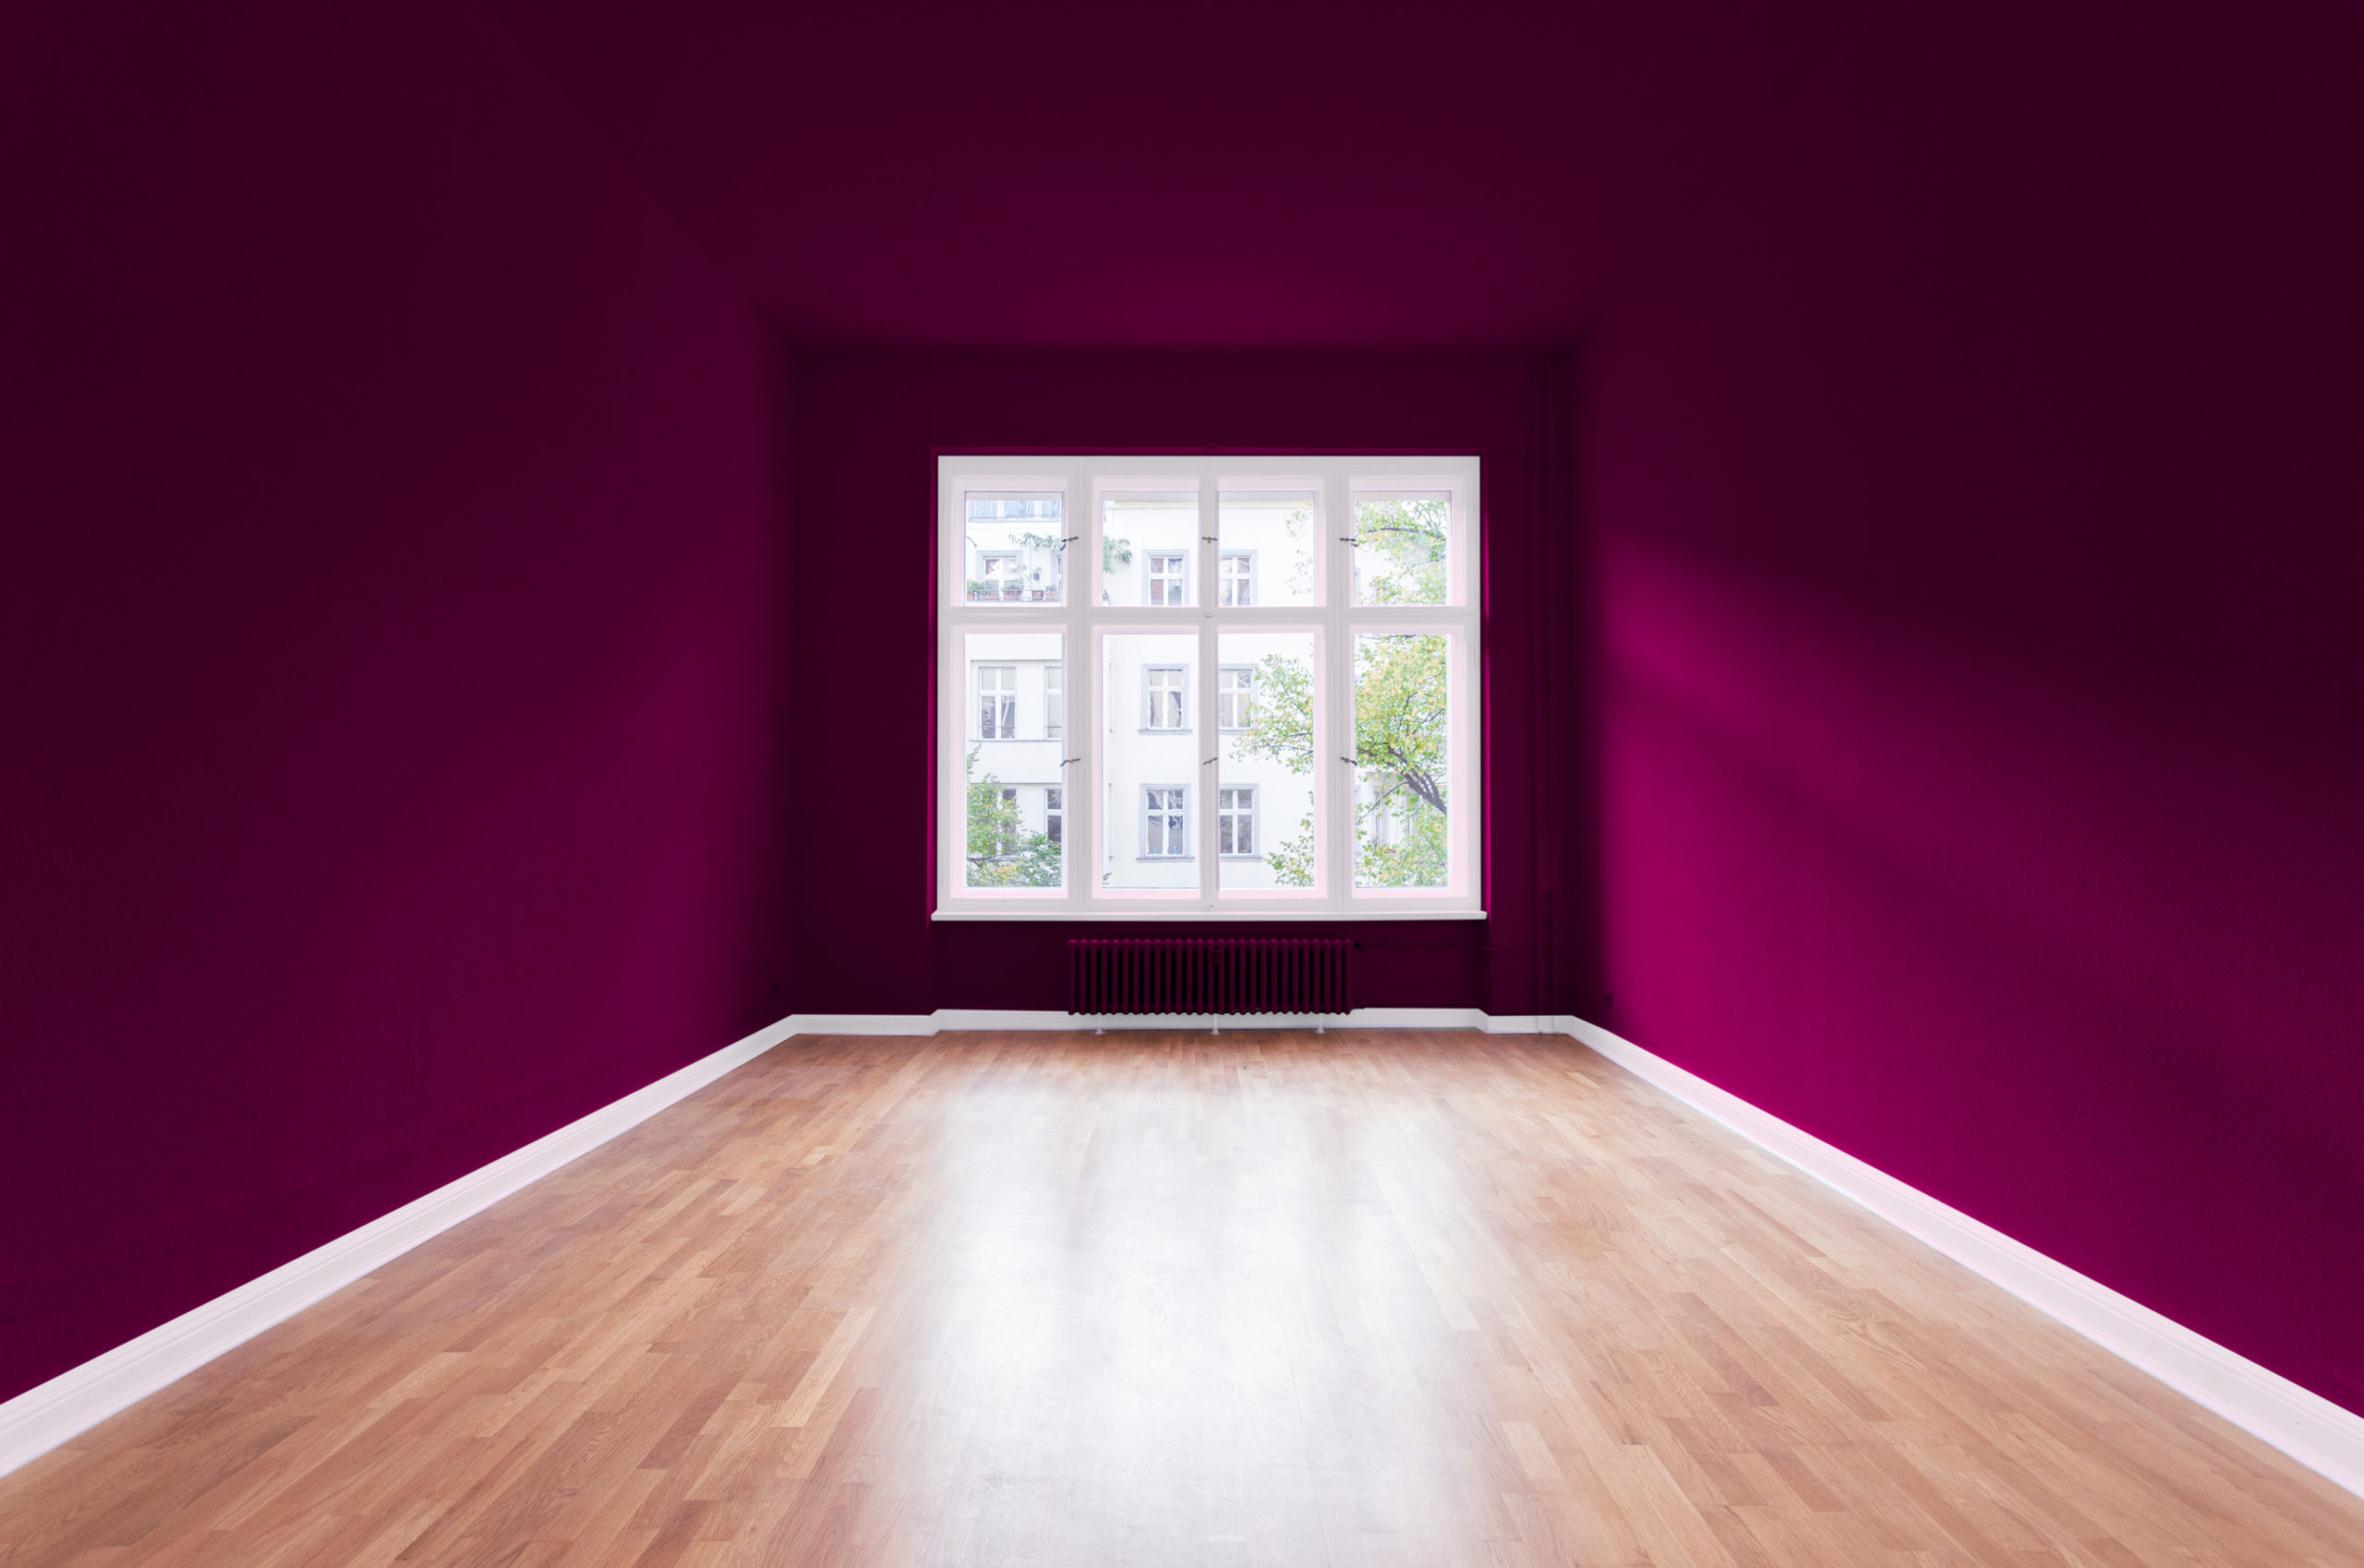
Six easy steps to paint a room
- The fun part! Choose your paint color. We carry Benjamin Moore, Dunn Edwards and Magnolia Home, and can match or create any color you want.
- Spackle any nail holes (unless you are going to rehang art in the same place) and dents from door handles or other indentations in the wall. Sand down any lumps left from repairs. If you are painting over glossy paint you’ll need to lightly sand all the walls or use a primer.
- Clean your walls. You’re trying to remove dust and any dirt, grime or grease that may interfere with the paint adhering to your walls – or if you’ve just sanded them, you’ll need to get rid of all that paint dust. A damp rag works great for baseboards. The warm soapy water comes in handy here. For the walls, dust first with a Swiffer (it’s easier than climbing up on a ladder over and over again to get all the way up the wall). If there are marks or stains, use that warm soapy water and your rag or a sponge.
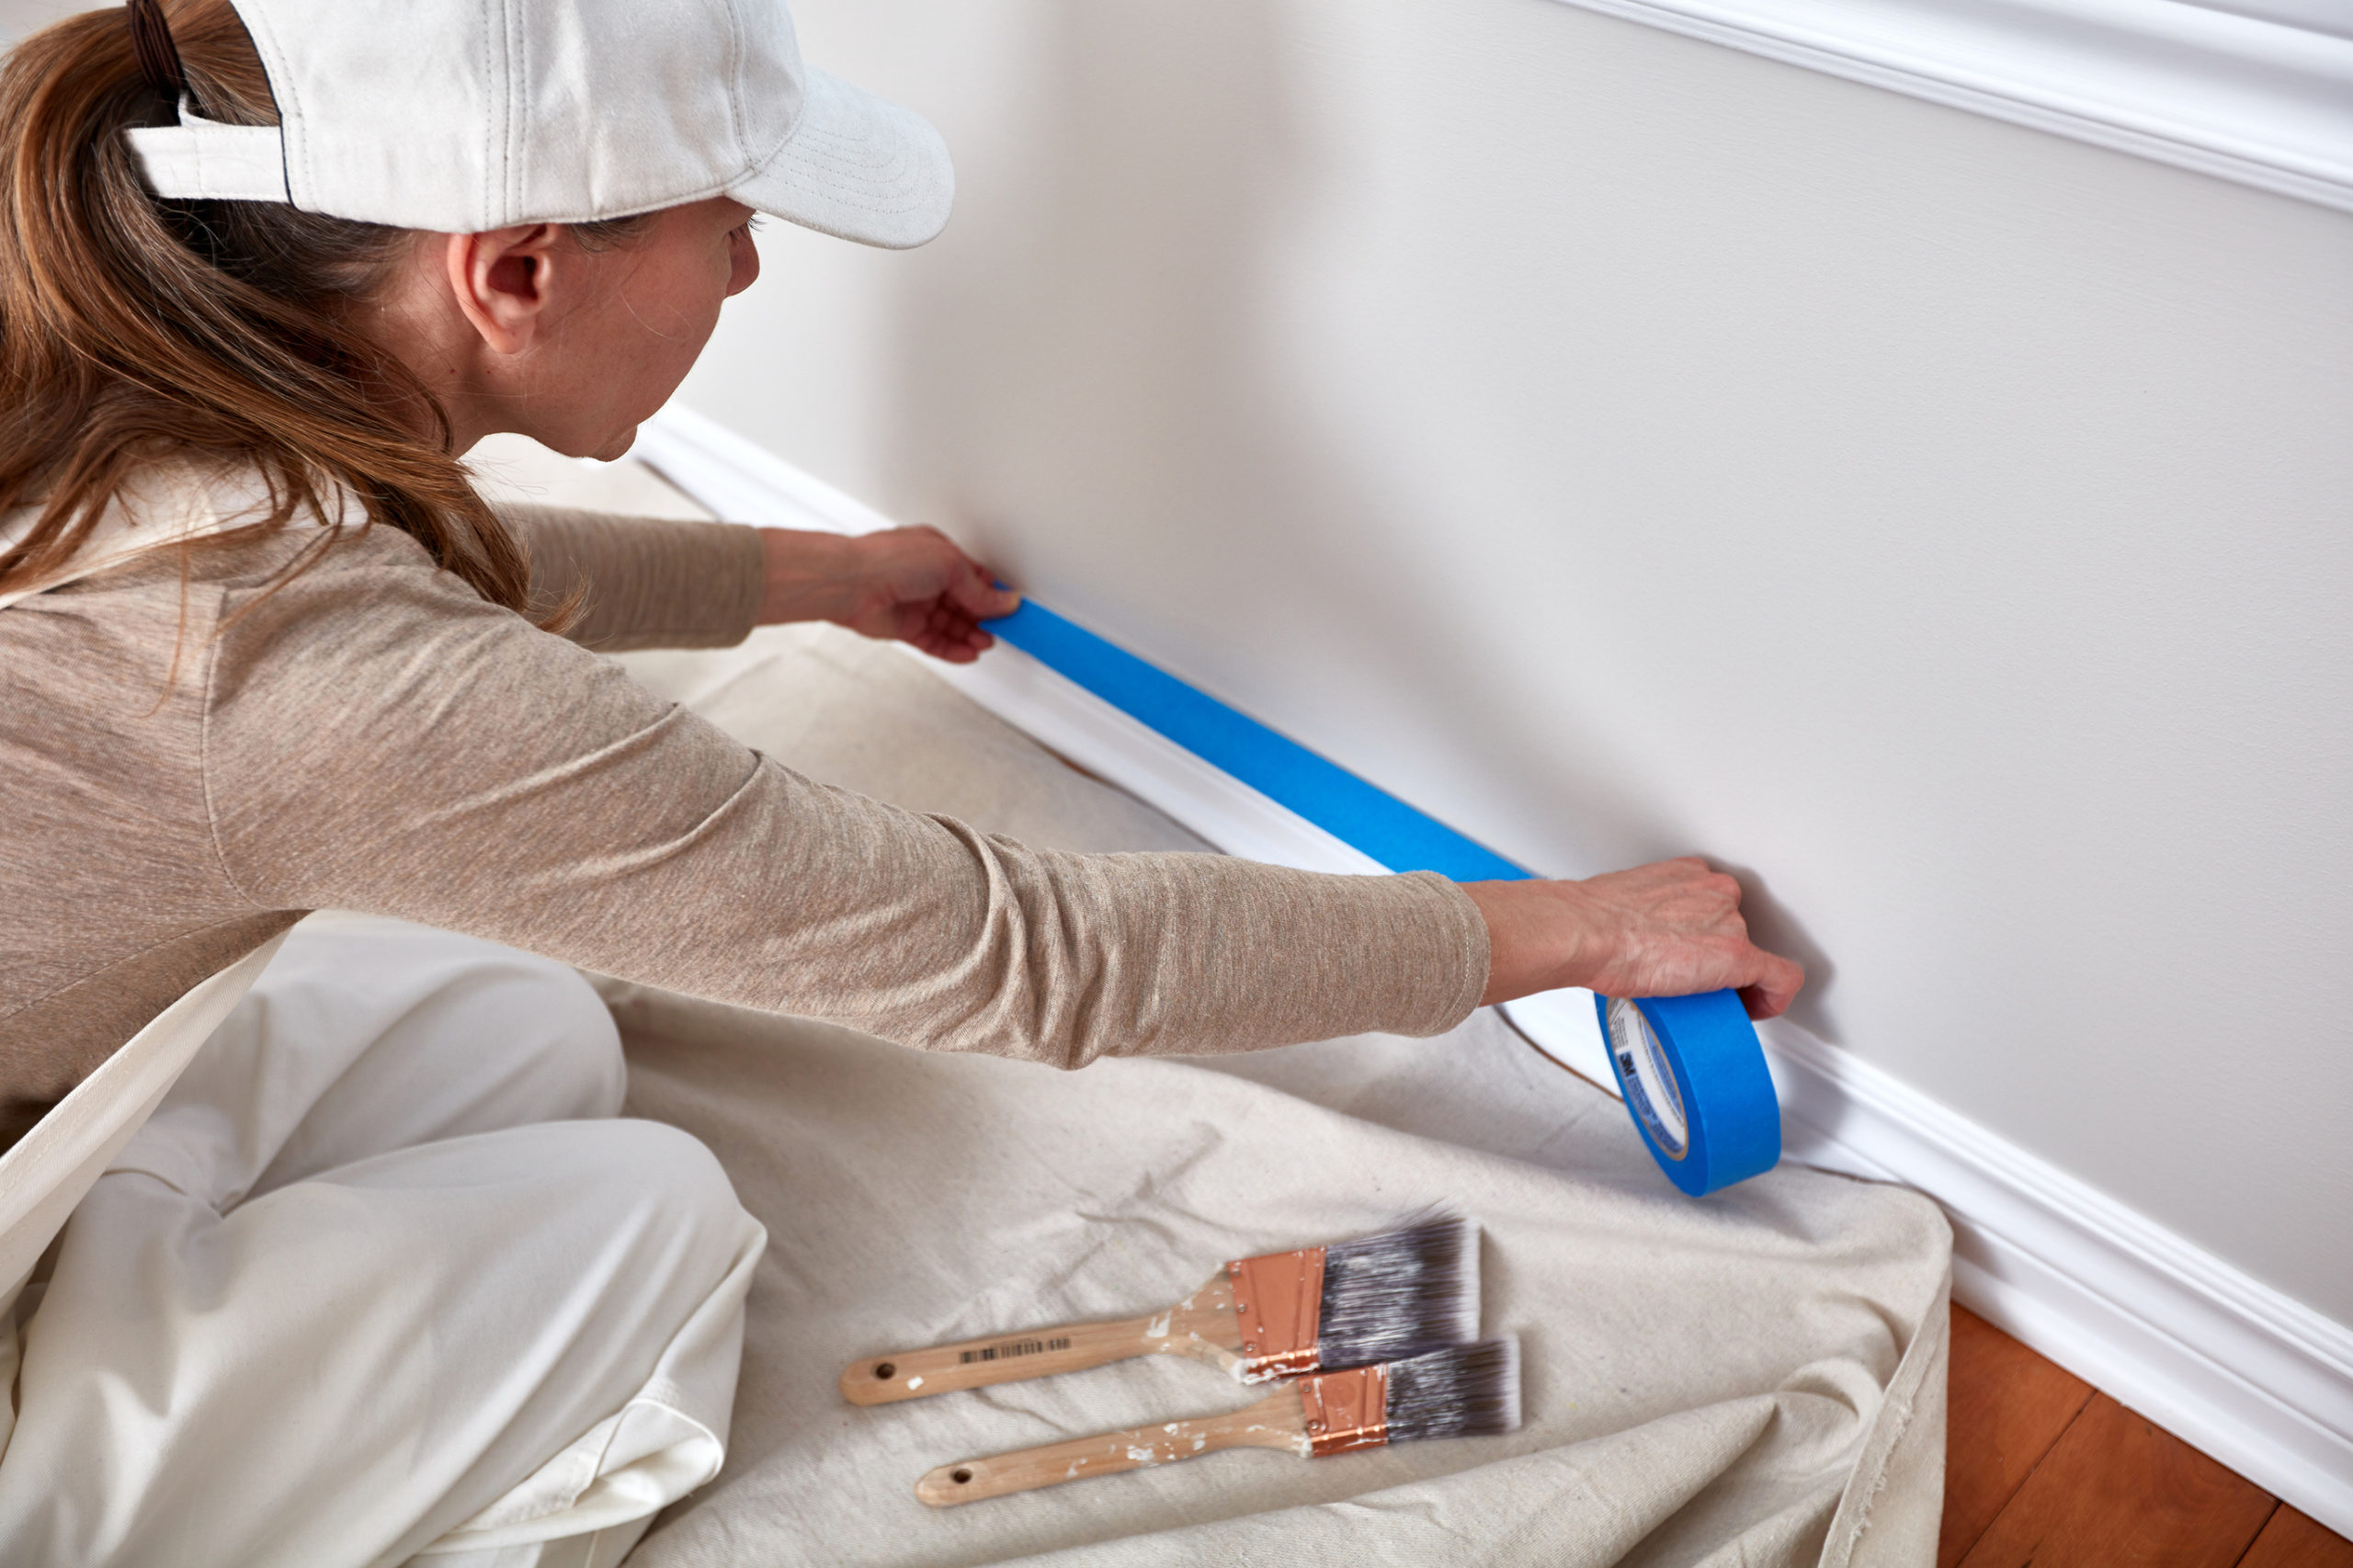
- Tape.
- Tape at the line where your wall meets your baseboard, making sure to cover the top of the board so you don’t get any paint on it.
- Tape your door and window frames.
- Tape the line where your wall meets the ceiling. Professional and experienced painters often skip steps b and c, because they use that 3″ angled brush for the wall joins, but if you’re reading this article, you’re probably new or rusty at painting, so we recommend using the tape. The angled brush is still a great idea and it gives you good practice making a nice clean line with your brush.
- Paint. Cut in or edge your walls first and then roll on your paint. We like this video from Houzz on how to get the paint on your roller and roll cleanly over your walls. We recommend edging your walls first, and in this video they do it last – if you’re a less experienced painter, it’s easier to blend in or cover up mistakes if you edge the walls first and roll afterwards.
- Clean up and removal of tape.
- Remove the tape: In Shauna Gallagher’s video we linked to above, she recommends taking the tape off when the paint is just dry, not wet anymore, but not thoroughly dry, and we agree with her. We love her tip of angling the pull of the tape to avoid catching any paint and going slow.
- Rinse all your tools well and let air dry – brushes prefer to be hung while drying and being stored.
Take a break and come back later
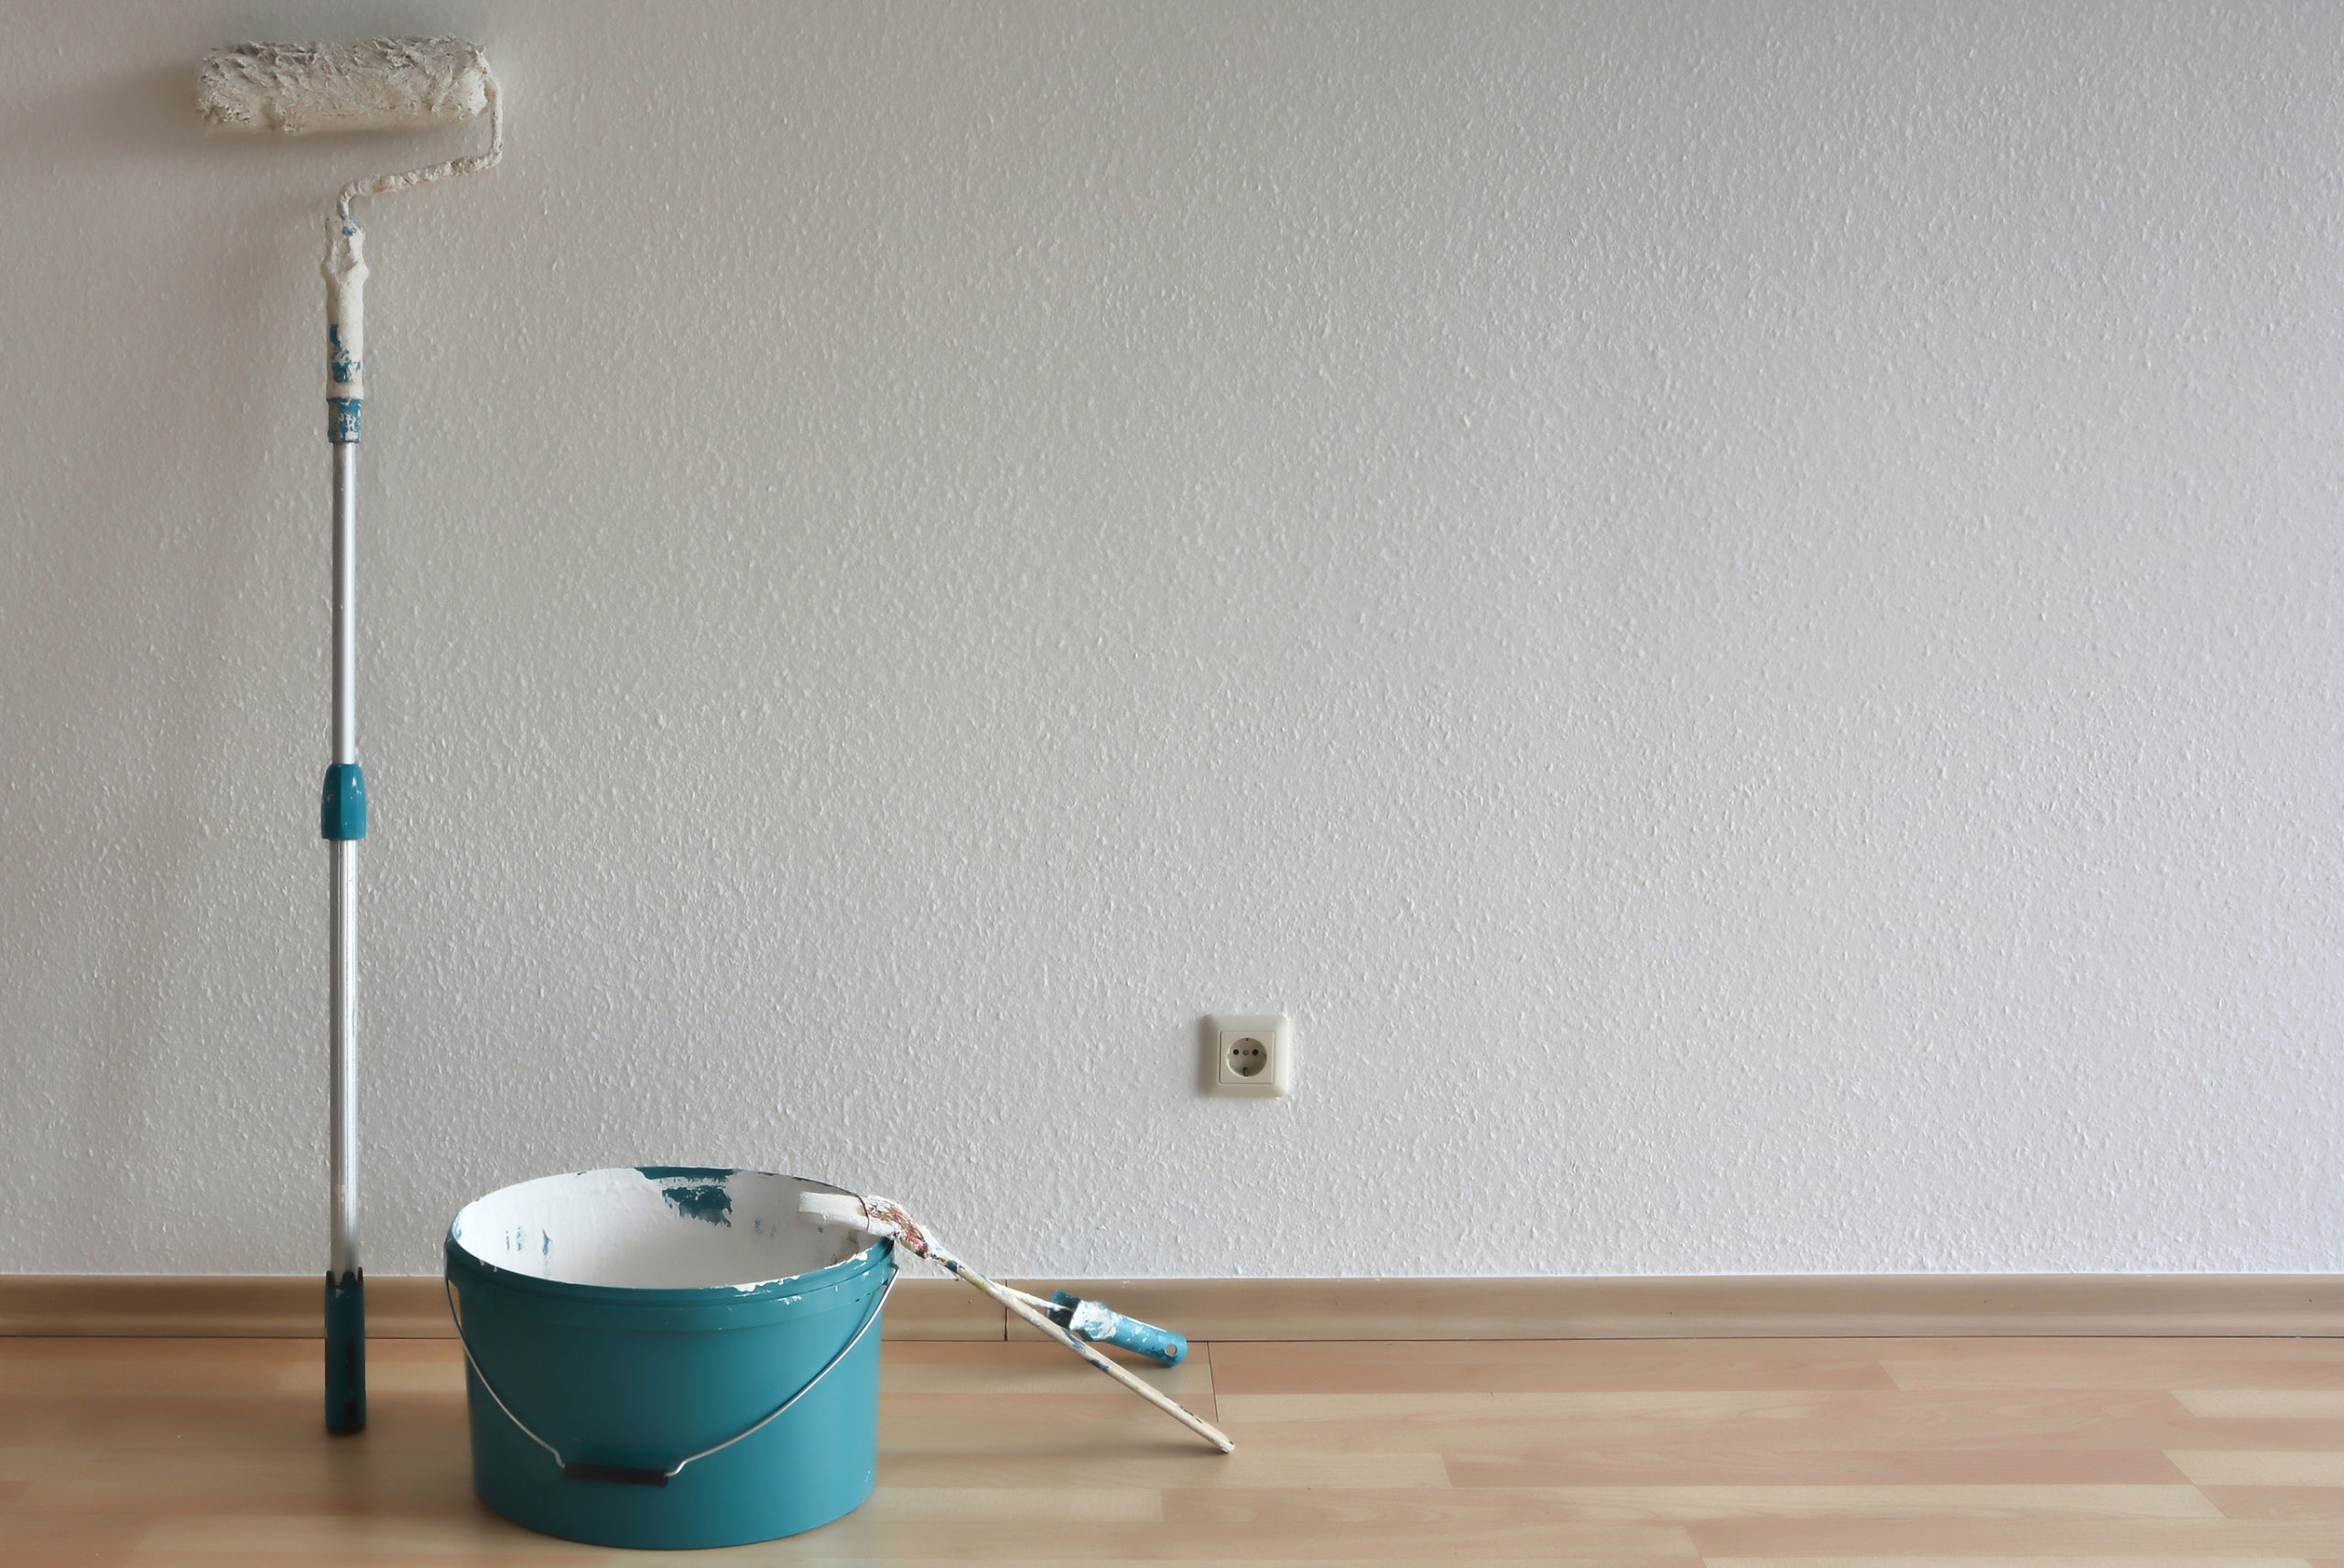
If you need to take a break in your painting – you just want to get outside and breathe some fresh air, you need to pick your kids up from practice, it’s time to make yourself lunch, or we don’t know, maybe you just need a nap, we’re all for that. Just wrap your paint brushes and roller cover in plastic wrap, cover your paint tray, close your lids or just cover with plastic wrap. If you’re going to be gone for a few hours – up to 24. If you’re going to be gone more than 24 hours, pop your brushes and roller cover into a sealable bag and put them in your fridge. Pour any unused paint back into your paint can, wipe the rim and put the lid back on your paint. We also love these pour and store lids from Shur-Line. They make an airtight seal on your paint can and have a pour spout with a sealable lid. They’re a great solution for long term paint storage as well.
There’s nothing like painting a room to bring some freshness and color into your home. It’s the quickest, easiest way we know to redecorate.
Hassett Ace Hardware carries everything you need for your next painting project, you can either come in and pick it out yourself or order it online and have it shipped to your local store or to your house. We have paint experts at all of our locations and can help you choose a color, match your paint and choose the best supplies for your project.
Use this code at checkout – in store only – to get 15% OFF* any single item.
*In store only. Not applicable for online purchases at acehardware.com. Excludes sale items, prior purchases, services, rentals, gift cards,
